Calorie counters read this recipe with caution, it will almost certainly change your waistline.
I discovered rough puff pastry last year and it changed my life, well that part of it spent in the kitchen which is quite considerable. I had made puff pastry once before, but it was a lot of pain for a short lived gain and I never got round to doing it again. Then last year I was watching repeats of River Cottage Spring on more 4 when Hugh explained that the pastry he was using for a mushroom tart was a quick and easy version of puff pastry. Did I hear correctly? Could this be? It sounded too good to be true. I quickly Googled the term and sure enough there it was in black and white ...and blue ...and purple.
The highest ranked link was to Gordan Ramsay’s recipe on BBC good food, so that is the one I first tried, but I’m afraid to say it didn’t really work. This is because he is not specific enough about quite how ‘loosely’ the butter should be rubbed in and, in fact, I think ‘rubbed’ is perhaps a bad choice of words since it implies rather more force than is necessary. Ramsay does note that ‘you need to see bits of butter’, but it is not clear that these bits should be large chunks. So I ended up overworking the butter and didn’t get the layered effect; a somewhat fatal flaw in puff pastry.
After a moment’s doubt (maybe it was too good to be true after all) I did a search on You Tube to see if there were any demos and found this one by Kate Lamont. As I suspected, the problem was the butter. As Lamont demonstrates, the butter barely needs to be rubbed or worked at all. What you want is large chunks of butter held together by the paste made with the flour, water and lemon juice.
Another problem with Ramsay’s recipe is that he does not emphasise the importance of everything being as cold as possible. In fact, he even says the butter should be room temperature. Any self-respecting pastry chef will tell you that the best flaky pastry is always made in the coldest possible conditions with the coldest possible ingredients and utensils. Some even go so far as to advise cooling one’s hands in a bowl of ice and water. My sister’s lovely boyfriend, the King of Windang himself, gave me the Bourke Street Bakery cookbook for Christmas last year, which sheds some light on why this is important:
To create a flaky pastry, you need to work quickly in a cool area while laminating – this is to avoid the butter melting out between the layers ... During this stage you need to handle the dough as little as possible and always lightly, or the heat from your fingers will melt the butter.
So after a little research and some experimentation I have taken the parts of each recipe that work for me and ended up with the following.
Ingredients
Method
Slice the butter into large chunks (approx 2cm squared) and store in the fridge until ready to use.
Sift the flour and salt onto your work surface; if you don’t have a marble slab or stone workbench, a normal mixing bowl will suffice, but you will need to work quickly. I use a metal mixing bowl, which I cool in the fridge for a bit first.
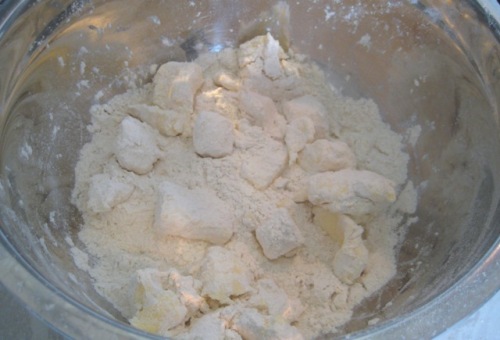
Add the butter to the flour and mix it in very gently with your fingertips, so that it is fully coated with flour, but still in large chunks.
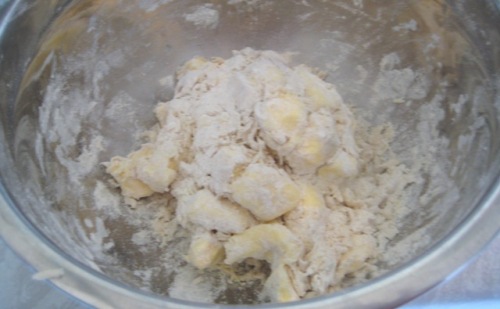
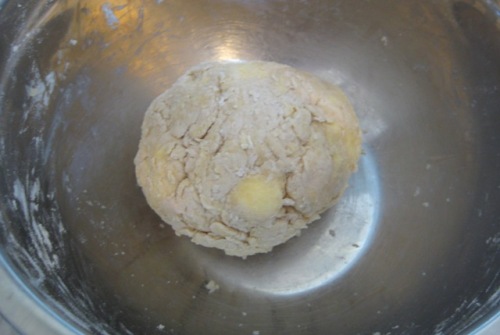
Mix the lemon juice with the iced water and drizzle a little over the mix. The aim is hold the cubes of butter together in a paste of flour, water and lemon juice using as little liquid as possible; you can always add more if you need to, but you can’t undo it if you use too much. When you are able to bring all the ingredients together into a ball, you are done. Wrap it in cling film and put it in the fridge to rest for 30mins. Some recipes eliminate this resting stage, but it is important for keeping the butter firm and relaxing the gluten, which makes the rolling process easier.
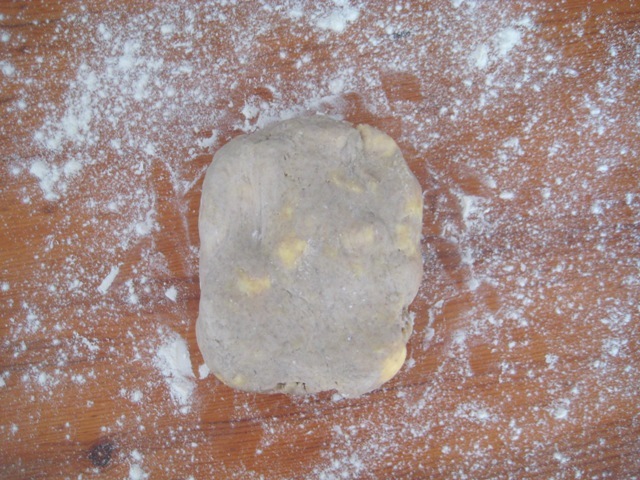
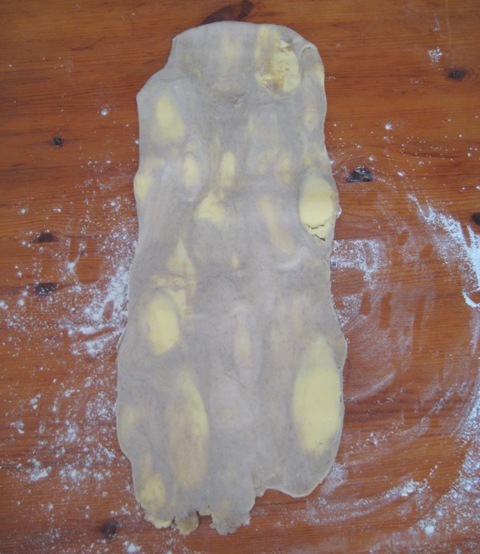
Flour your work bench and shape the dough ball into a rectangular block. Roll out the dough in one direction only, until approx three times the length and twice the width, aiming to keep to the rectangular shape. You should be able to see streaks of butter. Sometimes the butter will stick to the rolling pin or work bench, in which case sprinkle a little flour over the part that is exposed.
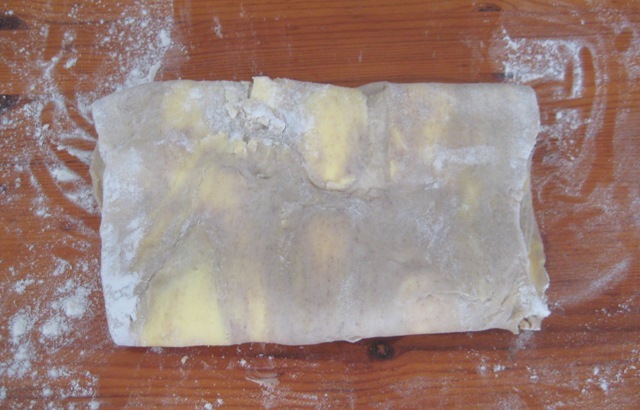
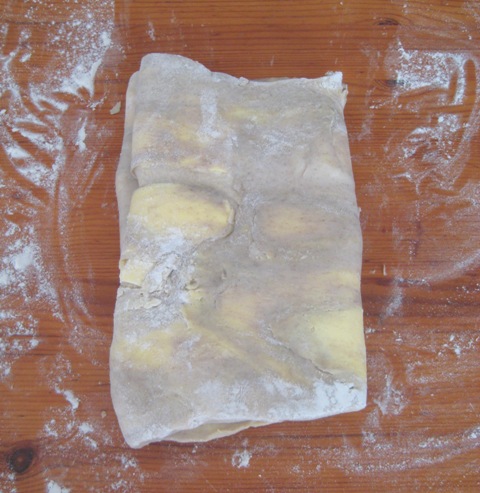
Fold the top third down to the centre and the other third up over that. If you have sufficient length you can fold the top and bottom quarters so that the ends meet in the middle and then fold in half for even more layers. Give the dough a quarter turn to the right and repeat the process again. I usually do this three times, including the first fold. Sometimes on a warm day I just do it twice to stop the butter from beginning to soften too much.
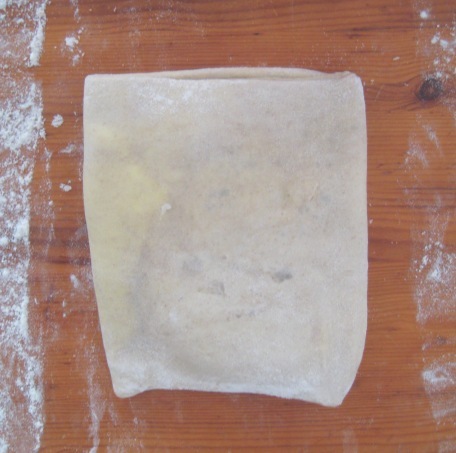
After the last fold, wrap in cling film and return to the fridge for half an hour before rolling out to use.
You can use offcuts that have been rolled out later, but you need to stack them on top of each other to preserve the layers. I usually find that most recipes only require half the amount of pastry that this recipe yields, but since I use it often I make the whole batch and cut it in half before rolling it out. I then freeze the other half with any offcuts stacked on top.
Windang Road a Windang.
 Vix
Vix